Seeker wrote:Funny you should mention...
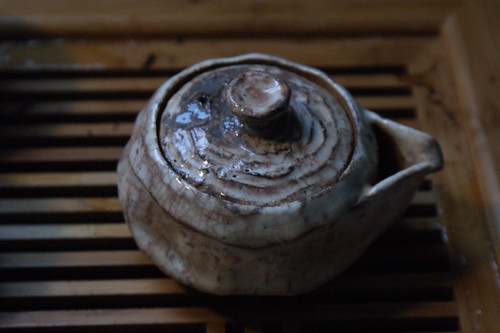
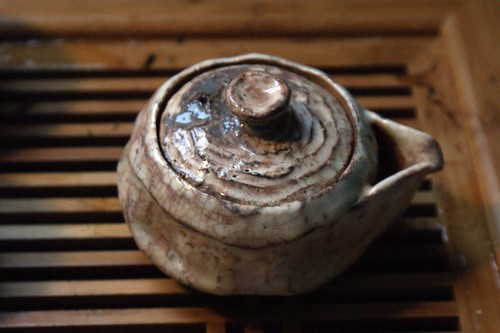
wasnt going to post these, I dont know, just wasn't excited about them.
But since you mentioned a grey sweep, and since I got one (also a black, which I haven't used yet).
cheers.
ps - wonder how to get a graduated light effect? probably have to totally control the light, i dont know, like a spot or something and do a setup with that somehow (that's what I imagine) - but I dont know.
seeker,
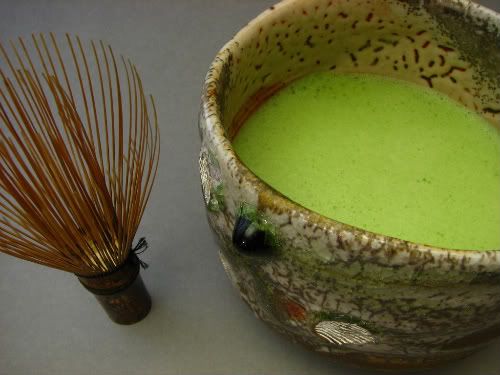
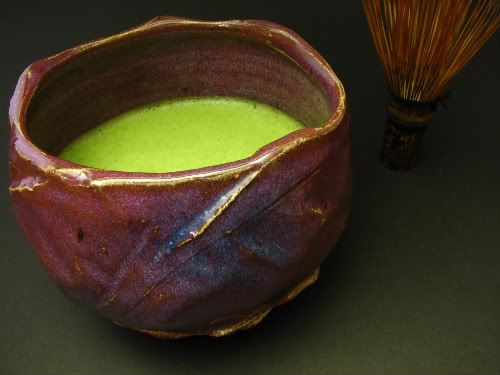
a few thoughts. i agree the middle gray is not too exciting. your first photos are so much nicer, just a bit hot on that left side.
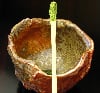
it seems best to stay away from black (goes too dark and has no detail texture) white (burns out and takes away shadows so things seem to float in space) and middle gray (boring).
a light gray can go close to white but still seem like a surface, or can go darker if desired. a dark gray can go darker and seem black but not loose its texture. the decision to make is which pieces look best on a lighter or darker backround.
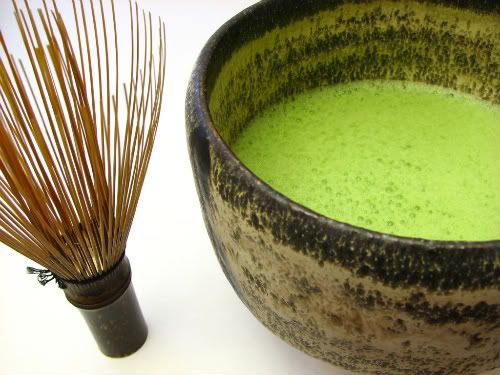
you'll see a lot of black used on ebay to make a light toned piece to really pop. not the most interesting photography but the piece looks appealing.
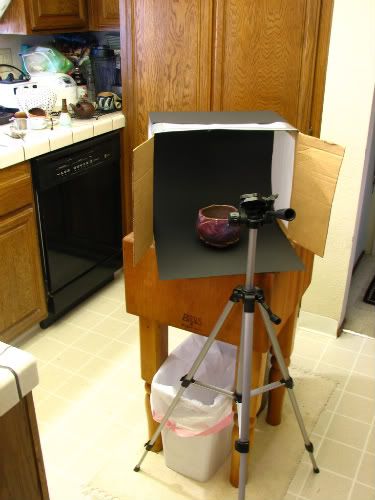
to get falloff on the back of your sweep (there are some photos of tabletop setups that show this in this topic) you do need a top light shining down. it must have some kind of lightbox or shade to be able to direct the light to fall off. it seems the box you use has a solid top (or is it open?) so a top light won't work. if it's open try to simulate what you see in a tabletop example.
soon your photography will make a $3 bowl look like a masterpiece, and your beautiful bowls will make your photographs into masterpieces. just a little more practice.