Oct 12th, '11, 08:49
Posts: 73
Joined: Sep 21st, '10, 09:19
Location: yixing,CChina
by yinwenqian » Oct 12th, '11, 08:49
Oct 12th, '11, 09:01
Posts: 73
Joined: Sep 21st, '10, 09:19
Location: yixing,CChina
by yinwenqian » Oct 12th, '11, 09:01
Oct 12th, '11, 09:03
Posts: 73
Joined: Sep 21st, '10, 09:19
Location: yixing,CChina
by yinwenqian » Oct 12th, '11, 09:03
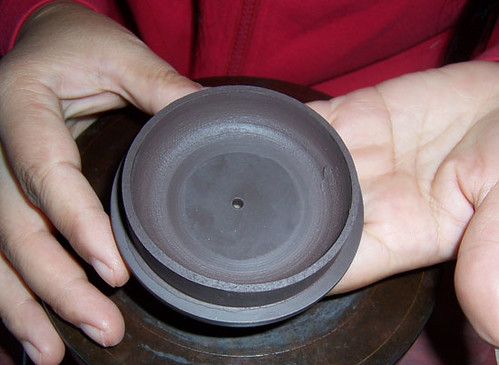
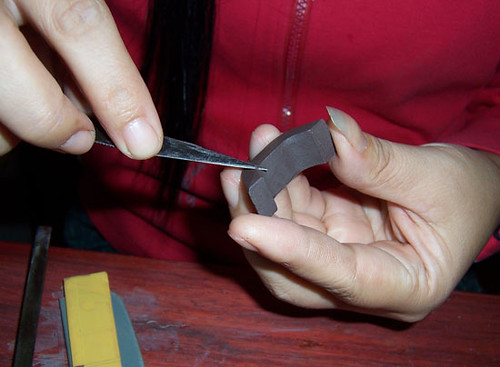
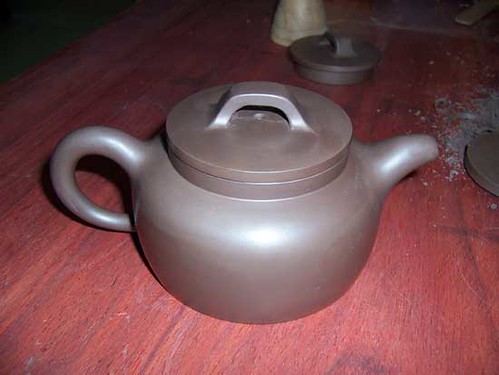
i have post all the pictures,thanks for your waiting
Oct 12th, '11, 18:06
Posts: 1777
Joined: Jun 4th, '08, 19:41
Location: Stockport, England
by Herb_Master » Oct 12th, '11, 18:06
A great sequence, thank you!
Oct 12th, '11, 19:04
Posts: 5896
Joined: Jan 10th, '10, 16:04
Location: Los Angeles, CA
by debunix » Oct 12th, '11, 19:04
It looks so smooth & easy, doesn't it, when you don't see all the years of practice efforts, the ones that get bent out of shape at the last minute or crack in the kiln.....
Oct 12th, '11, 22:59
Posts: 32
Joined: Oct 4th, '11, 22:11
by Ostara » Oct 12th, '11, 22:59
very interesting process, you make it look so easy but i know how hard it can be to make them when just starting out

great work!

Oct 13th, '11, 08:36
Posts: 73
Joined: Sep 21st, '10, 09:19
Location: yixing,CChina
by yinwenqian » Oct 13th, '11, 08:36
yes,a good pot costs years of efforts
Oct 14th, '11, 16:50
Posts: 1076
Joined: Oct 6th, '09, 08:08
Location: France
by David R. » Oct 14th, '11, 16:50
2 good videos I've been waiting to post here :
part I -
part II
Oct 14th, '11, 19:16
Posts: 5896
Joined: Jan 10th, '10, 16:04
Location: Los Angeles, CA
by debunix » Oct 14th, '11, 19:16
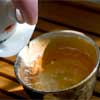
Those look excellent. Haven't finished watching both yet, but will do so later this evening, when I can relax with a nice cup of puerh.
Oct 15th, '11, 03:33
Posts: 5896
Joined: Jan 10th, '10, 16:04
Location: Los Angeles, CA
by debunix » Oct 15th, '11, 03:33
I get it now. Just fantastic to watch a master at work.
Oct 15th, '11, 19:16
Posts: 1777
Joined: Jun 4th, '08, 19:41
Location: Stockport, England
by Herb_Master » Oct 15th, '11, 19:16
Good viedos, part 3 is good also
Part III
Part 2, if you consider the first 2 as 1a and 1b.
Oct 16th, '11, 12:24
Posts: 2794
Joined: Oct 16th, '08, 21:01
Location: Arlington, VA
Been thanked: 2 times
by Drax » Oct 16th, '11, 12:24
Thank you for the posting the pictures, and thanks to those who posted the videos!
So if I followed everything correctly, the initial confusion in the picture was because the potter was using the first circle as a template, not as a bottom/top. Those come later.
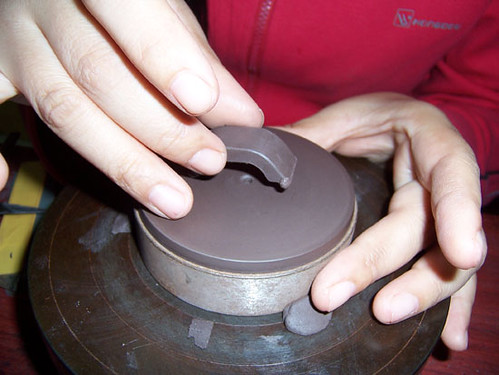
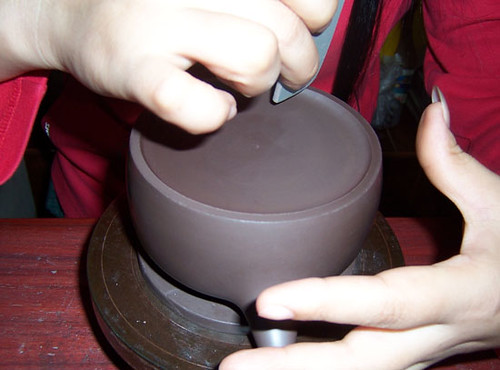
Then the other thing (that was confusing me) was that the potter actually 'seals' the top of the pot, and then cuts out the top later to finish off the lid.
Very interesting!
Oct 16th, '11, 12:38
Posts: 5896
Joined: Jan 10th, '10, 16:04
Location: Los Angeles, CA
by debunix » Oct 16th, '11, 12:38
Drax wrote:So if I followed everything correctly, the initial confusion in the picture was because the potter was using the first circle as a template, not as a bottom/top. Those come later.
Then the other thing (that was confusing me) was that the potter actually 'seals' the top of the pot, and then cuts out the top later to finish off the lid.
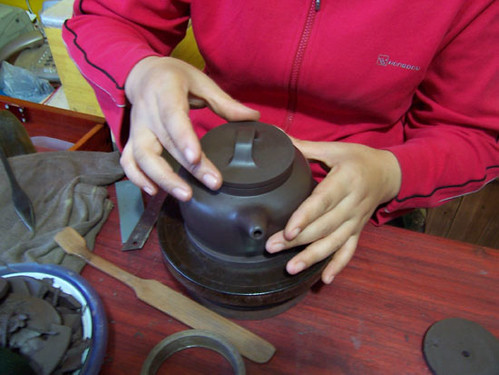
I was particularly impressed by the sturdiness and stability of the 'sealed' version of the pot, because in the video you could see how much vigorous handling was going on, and the pot never showed a dent.
I'd love to know if there were significant gaps there for the partly finished pot to dry a bit, of if that was all done with clay essentially the same degree of wetness as the pieces being pounded at the beginning.
Oct 16th, '11, 12:44
Posts: 2794
Joined: Oct 16th, '08, 21:01
Location: Arlington, VA
Been thanked: 2 times
by Drax » Oct 16th, '11, 12:44
debunix wrote:I was particularly impressed by the sturdiness and stability of the 'sealed' version of the pot, because in the video you could see how much vigorous handling was going on, and the pot never showed a dent.
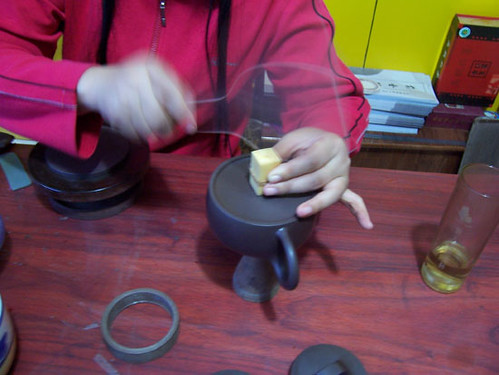
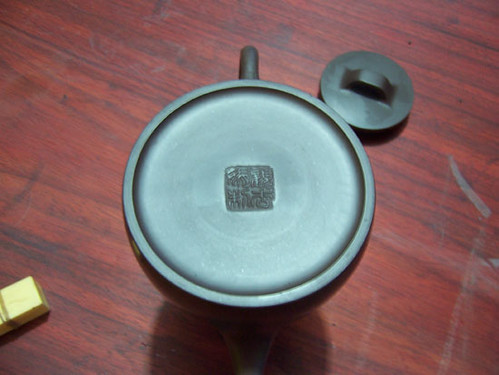
Yeah! I was thinking the same thing... about fingerprints, too... I could understand how a smooth-surface pot could be re-smoothed at the end, but that last video had a pot with a textured surface where that wouldn't be possible...
Of course, he had to pound pretty hard to get the seal impressed, so there may have indeed been some waiting/drying time...
Oct 19th, '11, 08:14
Posts: 73
Joined: Sep 21st, '10, 09:19
Location: yixing,CChina
by yinwenqian » Oct 19th, '11, 08:14
very good video