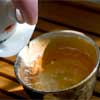

OY VEH
let's move on!

My arm got tired from smacking this mofo.

This time I didn't glue the base all the way on, just on the edges. So, I can carve it out later like and intelligent person would.

This is the scary moment when you make it an "egg of clay" and you have no idea what's going on inside ...

The sealed egg... then it's time for more furious tapping. The masters must have big strong arms and very obedient children.

tryinging to get it all in a row.

One big issue is it gets roughed up as one works. I need to do a better job keeping in smooth, clean hands... don't rush...

getting ready to cut out the lid.

Not quite. The masters get it on the first try.

almost perfect...

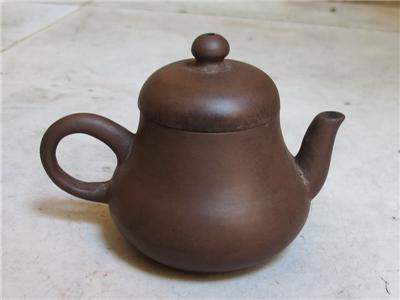
yeah!

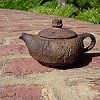
So, issues... yeah, this teapot has some. I'm going to dissect them latter when I go back to burnish it. (I'm exhausted this took 4 hours)
For now, I'm just happy that I did all of the steps.
I think I'll watch the video again just in case I missed something.