Sorry I missed a couple of these posts.
debunix wrote:The full cup in bright sun is glaring but not sparkling
I think you would probably have better success in a bright indirect lightsource, with an additional soft directional light to add dimension. Details like "sparkles" can be exceedingly hard to capture on film though, because remember that a photograph
stops all action, including the interplay of light on a surface that is created from the tiniest movement in relation to the object.
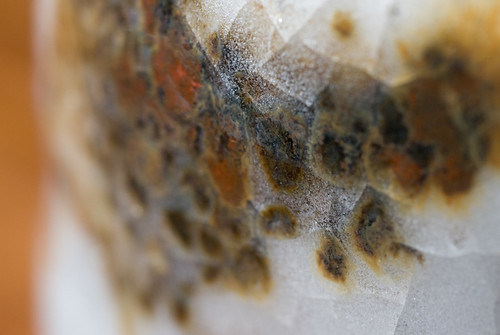
The first image (the shade one - it doesn't show up on this post) is better for detail, IMO, but doesn't really have the "pop" that your eye and brain is capturing, amirite?

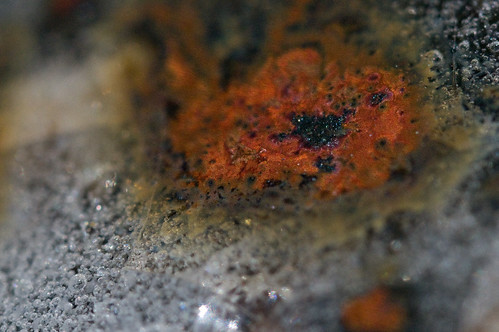
The third image probably is too shallow dof. One more stop down and I suspect you would have been happier. There's some nice texture there, although you need a bit of color correction if your intention is realism.
rayFrev wrote:so using Apple iSight web cam is not a good idea? lol, jk... nice thread although i don't think i have the patience to get good with my slownchy Cannon digital camera.

Actually, I've seen people do some amazing artistic things with everything from web-cam stills to 1mp cellphone cams. Granted you won't get the detail that you can out of an actual camera (although the new iPhones and new Androids are pretty amazing,) you can still produce some interesting and creative photographs with those tools. Try it, you might be surprised!
I'm working on a little post about alternative tools for processing. I think I've mentioned on here before that picnik.com is an impressive photo-editing tool that is really easy to use, and even in the full (paid) version, WAY cheaper than nearly all the viable commercially available image editing options on the market. I might post it in segments, because my AADD is kicking in.