My latest project with photos of the process...
After repairing the badly cracked lid of a sweet 80's Hong Ni Shui Ping for Tim of
The Mandarin's Tearoom, he very generously donated a beautiful 80's Zisha teapot to
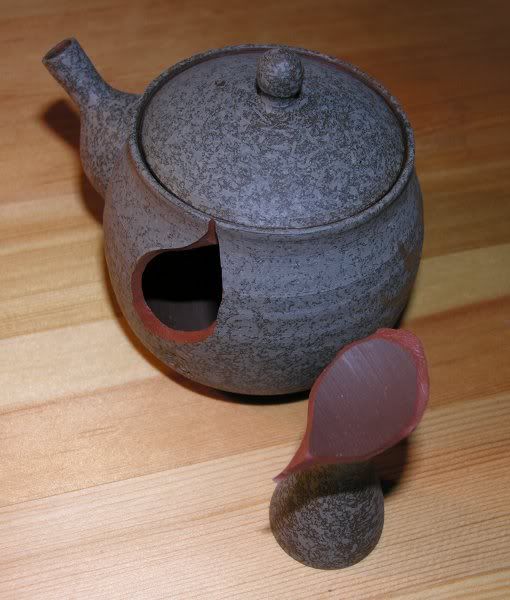
Tingjunkie's Yixing Hospital for the Cracked! This pot is made from very high quality Zisha, and was specifically designed for Anxi TGY oolong. Sadly, the pot was the victim of overzealous airport baggage handlers, and had one
huge piece broken out of the side of the pot. Letting such a nice pot sit in pieces would have been an undignified fate, so it's getting the full rehab treatment!
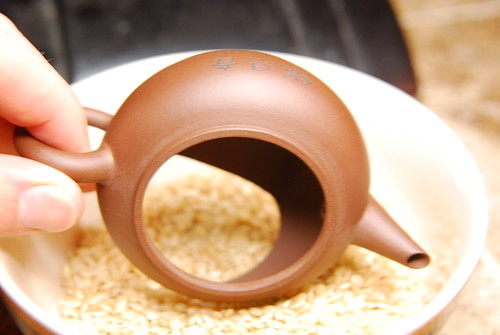
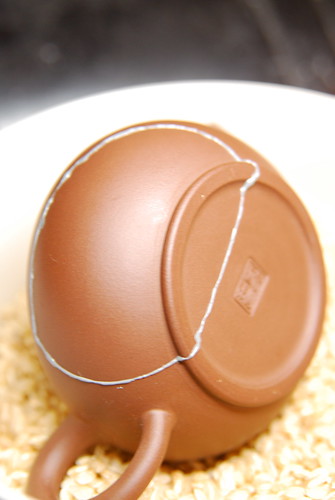
The lighting in these pics does not show the true purple color of the great clay. Having a big chunk blown out of the side offers a rare glimpse into the impressive craftsmanship that went into this pot. Notice the uniform thickness of the walls.
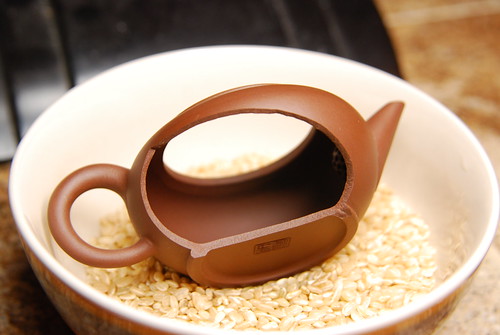
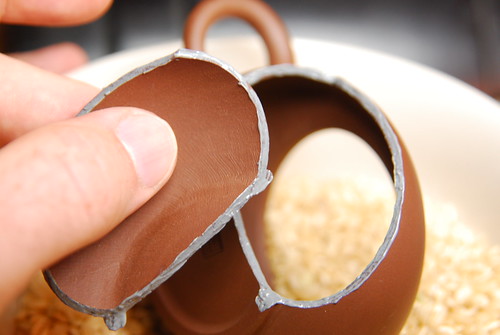
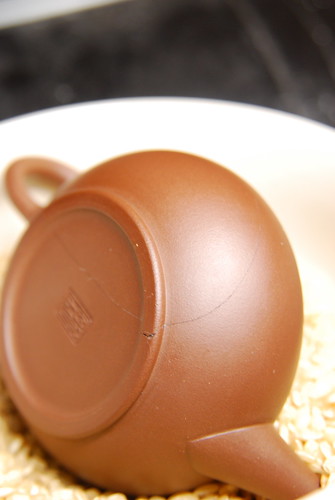
I have never seen a pot cracked in this way before. Usually it's the lid, spout, or handle. The missing piece still fit perfectly though, so it was a fairly easy fix. The bowl of dry rice makes a great working area to hold the pieces in place where I want them.
Out comes the trusty
JB Weld Epoxy- Marine Formula. This stuff is non toxic, safe up to 500 degrees F, 100% waterproof, and will hold until eternity. Equal parts of the liquid steel and hardener are mixed together on a piece of foil with a plastic q-tip until it becomes a smooth uniform gray color.

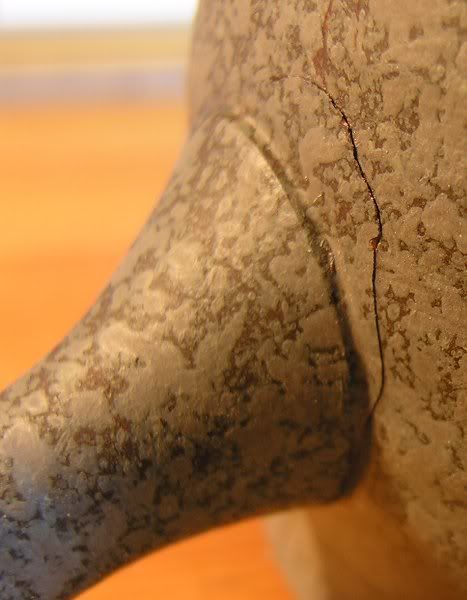
With the cotton part cut off (so no little fibers get stuck in the epoxy) use a q-tip to spread a thin layer of epoxy along both sides of the crack. The goal is to have both sides uniformly covered without a ton of excess globs of epoxy.
Carefully fit both parts together EXACTLY. Make sure everything lines up perfectly. Don't worry that the epoxy oozes out along the seam. That just means you have enough in there to form a really good bond.
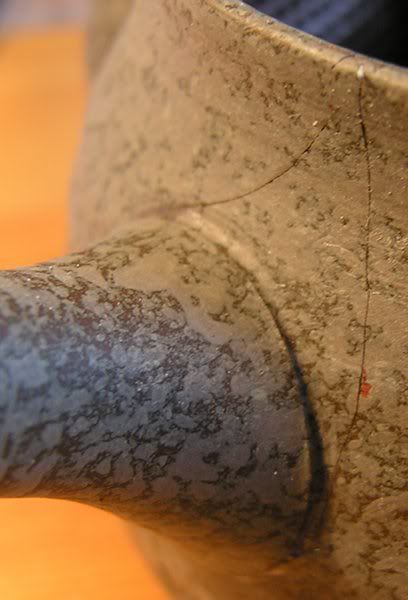
I didn't take any pictures of the next step because it requires two hands and is the most difficult and involved step in the process. Once the two pieces are fit snugly together, you need to carefully and gently remove the excess epoxy. The way I do this is to have a small cup of very hot water and a TON of q-tips at the ready. You want to dip the cotton part of the q-tip in the hot water, dab the excess water form the q-tip off on a clean towel (you want it very damp, not dripping), and begin to remove the excess epoxy in a gentle swiping/rolling motion. The hard and frustrating part can come in when you aren't gentle enough and accidentally knock the fit pieces out of place again. Be very thorough and go over the seam several times to get all the extra epoxy. Don't be afraid to use lots of q-tips as
well. They are super cheap, and using a ton will help you remove the epoxy, rather than just smearing it around.

Make sure to get the inside as
well as the outside. It also helps to carefully press the pieces together again to see if you can get the crack any smaller. A second
very thin bead of epoxy should squeeze out, which you will need to remove in the same way.
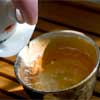
Once all the excess epoxy is wiped off, carefully set the piece in the bowl of rice to dry for about 24 hours. At that point it will be safe to handle, but you don't want to make tea just yet. Wait an additional 24 hours, then boil the pot to get rid of any epoxy smell that might be lingering. The pot should be good to go after that!